How to Choose Your First Telescope
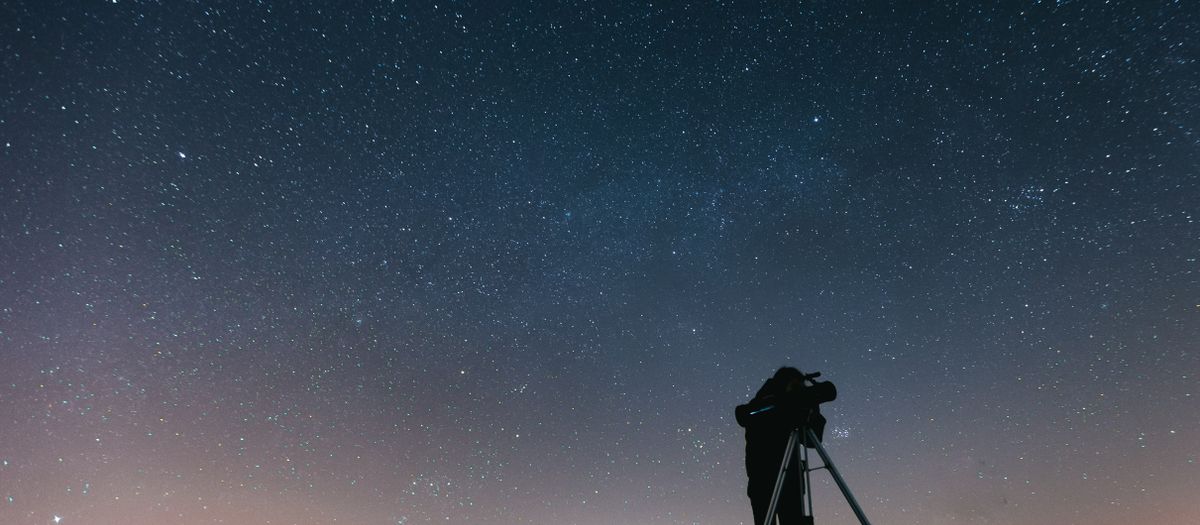
The right first telescope shows you Saturn's rings on your first clear night. The wrong one gives you a blurry smear on a wobbly tripod and sits in a closet for years. The difference is almost never the price — it is knowing four things before you buy. This guide walks every decision in the order it actually matters: aperture first, then scope type, then the mount, then the eyepieces, then the rest of the cart. Read it once and you will buy your first telescope better than most people who have owned three.
A quick note on how I write here. I'm Marcus, the founder of First Light Scopes, and I've spent 15-plus years observing from my own backyard near Prescott, Arizona, with an 8-inch Dobsonian and a small 80mm refractor. My first scope, as a kid, was a "600x" department-store refractor that I could never get to show me anything — and that wasted year is exactly why this site exists. The opinions here come from real time at the eyepiece; the product numbers come from manufacturer specs and physics, not from any lab test I'm pretending to have run. I'll always keep those two things separate.
Why aperture beats magnification
If you remember one thing from this whole guide, make it this: aperture is the number that matters, and magnification is the number that fools you. Aperture is the width of the main mirror or lens — the opening that gathers light — measured in millimetres or inches. A bigger aperture collects more light and resolves finer detail, full stop. It is the single spec that decides how much a telescope can actually show you.
Magnification, by contrast, is almost free. You change it just by swapping the little eyepiece at the back, and any scope can technically reach almost any power. But there is a hard physical ceiling on useful magnification, and it is set by aperture: roughly 2× the aperture in millimetres. A 100mm scope tops out near 200×. Push past that and you are not seeing more — you are spreading the same light over a bigger, dimmer, blurrier image. This is why a box that screams "600x" on a tiny 60mm lens is selling you a number the optics cannot deliver.
To make aperture concrete, run the numbers through the What Can I See calculator: type in an aperture and it tells you the planets, lunar detail and deep-sky objects that scope can resolve, plus its sensible magnification ceiling. It turns "is 6 inches enough?" into a real answer instead of a guess.
The four telescope types in plain English
Once aperture is settled, you choose a type — really a combination of optical design and how the tube sits on its base. There are four families a beginner will run into. Here is what each one is, and where it fits.
Dobsonian — the beginner bang-for-buck favourite
A Dobsonian is a Newtonian reflector (a mirror-based tube) sitting on a simple, sturdy rocker base that swings up-down and left-right. Because the base is cheap to build, almost all of your money goes into the mirror — which means a Dobsonian puts more aperture per dollar in front of your eye than anything else. A 6- or 8-inch Dob shows the Moon, planets and the brighter star clusters, nebulae and galaxies genuinely well, and it sets up in seconds with nothing to align. This is what I keep as my workhorse, and what I'd hand most beginners. Its only real downsides: it doesn't track the sky for you, and the bigger sizes are bulky to carry.
Refractor — the grab-and-go
A refractor is the classic long lens-in-a-tube design. It needs almost no maintenance, never needs its optics aligned, and gives crisp, high-contrast, wide views — lovely on the Moon, on double stars and on rich star fields. The catch is cost: aperture in a refractor gets expensive fast, so beginner refractors are usually small (60–100mm). My 80mm refractor is my grab-and-go for a quick ten-minute look, not my deep-sky scope. A small refractor on a steady mount is a fine first telescope if portability and simplicity matter more to you than chasing faint galaxies.
Newtonian reflector — the same mirror, on a tripod
A Newtonian reflector uses the same mirror optics as a Dobsonian but rides on a tripod-and-head mount instead of a rocker base — often an equatorial mount that can track the sky. You get more aperture for the money than a refractor, with the trade-off that the mirrors occasionally need collimation (a quick alignment) and the mount adds cost and setup. A good middle path for someone who wants reflector value but also wants tracking.
Compound (SCT and Maksutov) — long reach in a short tube
Compound, or catadioptric, scopes fold the light path with both a mirror and a corrector lens. Schmidt-Cassegrains (SCTs) and Maksutov-Cassegrains pack a long focal length into a short, portable body, which makes them great for planets and the Moon and popular on computerized GoTo mounts. They cost more per inch of aperture than a reflector and take longer to cool down to the night air, so they're less of a pure-value beginner pick — but they're compact and capable.
Manual versus GoTo, and the mount that matters
Here is a hard-won truth from years at star parties: a wobbly tripod ruins more first nights than bad optics do. The mount — the thing that holds the tube — is the most underrated purchase in astronomy. If it shakes every time you touch the focuser, you'll fight it all night and see nothing well. A steady base is not a luxury; it is half the experience.
There are two big mount decisions. The first is how it moves. An alt-azimuth mount swings up-down and left-right like a camera tripod — intuitive, quick, and exactly what a Dobsonian base is. An equatorial (EQ) mount is tilted to your latitude so a single axis follows the sky's rotation; it has a learning curve but keeps objects centred with one slow-motion knob, which is why astrophotographers rely on it.
The second decision is manual versus GoTo. A manual mount you point yourself, star-hopping from bright stars to fainter targets — it's cheaper, teaches you the sky, and never runs out of battery. A computerized GoTo mount slews to objects for you after a short alignment, which is a real help if your skies are light-polluted or your time and patience are short. My honest opinion, and it's a common debate at my club: for a first scope on a budget, manual wins, because every dollar spent on a motor is a dollar not spent on aperture. But if finding things yourself sounds like a chore rather than a game, GoTo is money well spent — there's no wrong answer, only a trade-off.
What you'll actually see at each aperture
Let's set expectations honestly, because mismatched expectations are the other thing that makes beginners quit. Through any telescope, the Moon is jaw-dropping — craters, mountain ranges and long shadows along the terminator, sharp enough to feel like you're in orbit. That alone is worth the price of entry, and it works from a city balcony.
- 60–80mm (small refractor): a beautiful Moon, Jupiter as a disc with its four bright moons strung beside it, Saturn as a tiny ringed shape, the brightest star clusters. A real telescope, modest reach.
- 4–6 inches (100–150mm): Jupiter's cloud bands, Saturn's rings clearly separated from the planet, the phases of Venus, Mars as a small ochre disc, and from a dark sky the brighter nebulae and globular clusters.
- 6–8 inches (150–200mm): the sweet spot. Everything above, plus more deep-sky reach — the Orion Nebula with structure, dozens of star clusters, the brighter galaxies as faint glows, and finer planetary detail on a steady night.
- 10 inches and up: serious deep-sky light grasp, at the cost of weight and bulk that work against a first scope.
One expectation to reset now: planets through an eyepiece are small, bright and subtly coloured — they do not look like the long-exposure photos, which stack hours of camera data. Saturn's rings are sharp and pale gold; Jupiter shows tan bands. The magic is that it's real light from a real world landing in your own eye. To match a specific aperture to specific objects, the What Can I See calculator does the optical maths for you.
Budget tiers: what your money buys
You don't need to spend a lot, but there is a floor below which you're buying frustration. Here are the honest tiers.
- Under $100 — the danger zone. This is where the "600x" department-store traps live: tiny aperture, plastic focusers, wobbly tripods. Skip it. A pair of binoculars at this price will show you more.
- $150–$300 — the beginner sweet spot. A 6-inch Dobsonian, a decent small refractor on a steady mount, or a tabletop reflector. This is where a genuinely good first telescope starts, and most people never need to spend more.
- $300–$600 — more aperture or tracking. An 8-inch Dobsonian, or a smaller scope on a computerized GoTo mount. You're choosing here between maximum light grasp (the Dob) and convenience (the GoTo).
- $600+ — into imaging and big glass. Tracking equatorial setups for astrophotography, or large Dobsonians. Worth it once you know what you want — overkill for a first night.
The full beginner cart, in buying order
A telescope is the first purchase, not the only one. Here's the whole sensible beginner cart in the order it actually matters, so you don't over-buy on night one.
- The scope — chosen on aperture and type, as above.
- The mount — already attached on a Dobsonian; a separate, steady tripod-and-head for a refractor or reflector.
- Two eyepieces — one low-power (wide view, for finding things) and one medium-power (for detail). Skip the super-high-power eyepiece the sky rarely supports.
- A Barlow lens — slots in front of any eyepiece and multiplies its power, usually 2×, effectively doubling your eyepiece kit for a few dollars.
- A moon filter — the full Moon is genuinely too bright through a scope; a cheap moon filter tames the glare so you can see detail.
- A red flashlight — preserves your night vision while you read a chart. White light wrecks your dark adaptation for twenty minutes.
- A planisphere or sky app — to learn what's up tonight and where to point.
The rookie mistakes to skip
Most first-telescope regret comes from the same short list. Avoid these five and you're ahead of where I was for years.
- Buying on magnification. The "600x" trap, in all its forms. Judge a scope by aperture, never by the power printed on the box.
- Skimping on the mount. A great tube on a shaky mount is a bad telescope. Spend on stability.
- Expecting Hubble photos. The eyepiece view is real, live light — smaller and subtler than the pictures, and better for being real.
- Going too big to carry. The best telescope is the one you'll actually haul outside. A 6-inch you use beats a 12-inch in the closet.
- Pointing it at the Sun unprotected. See the warning below — this is the one mistake that can hurt you, not just disappoint you.
Frequently asked questions
What is the best telescope for a beginner?
For most beginners, a 6-to-8-inch Dobsonian reflector is the best-value first telescope. It puts a lot of aperture — light-gathering power — on a simple, stable base, so the Moon, planets and brighter deep-sky objects all look genuinely good without a complicated setup. A small refractor is the alternative if portability matters most.
Does more magnification mean a better telescope?
No — and this is the single biggest beginner trap. Aperture, the width of the main mirror or lens, decides how much you can really see. The useful magnification ceiling is roughly twice the aperture in millimetres; push past it and the image just gets dim and blurry. Ignore any box that advertises "600x".
What is the 600x telescope trap?
It is the department-store scope that prints a huge magnification number — often "600x" — on the box to sell a cheap, small-aperture tube on a wobbly mount. That power is unusable: a small lens cannot support it, so you get a dim, blurry smear. Judge a scope by its aperture in millimetres or inches, never by its advertised magnification.
How much should I spend on my first telescope?
A genuinely good beginner telescope usually falls between about 150 and 500 dollars. Under roughly 100 dollars you are mostly buying the 600x trap. A 6-inch Dobsonian sits near the bottom of that band and an 8-inch near the top, and either will show you the Moon, planets and brighter deep-sky objects well for years.
Should I get a manual telescope or a computerized GoTo?
For pure visual observing on a budget, a manual Dobsonian puts more aperture per dollar in front of you and teaches you the sky. A computerized GoTo finds objects for you, which suits people short on dark skies, time or patience, but costs more and spends some of your budget on electronics instead of glass.
What will I actually see through a beginner telescope?
The Moon looks stunning in any scope — craters, mountains and shadow detail. A 4-to-6-inch shows Jupiter's cloud bands and four moons, plus Saturn's rings. A 6-to-8-inch starts pulling in star clusters, the brighter nebulae and a hint of galaxies from a dark site. Use the What Can I See calculator to match an aperture to objects.
Can I see planets in color like the photos?
Not like the long-exposure photos — those stack hours of camera data. Through the eyepiece, planets are small, bright and subtly coloured: Saturn's rings are sharp and pale gold, Jupiter shows tan cloud bands, Mars is a small ochre disc. The thrill is that it is real light arriving in your own eye, not a screen.
Do I need a special telescope to look at the Sun?
Yes, and this is the one safety rule that matters. Never point a telescope at the Sun without a proper, certified solar filter fitted over the front of the tube — not a small screw-in eyepiece filter. Use only ISO 12312-2 certified solar filters and follow the manufacturer's instructions. Improvised filters can cause permanent eye damage.
Where to go next
The four silos, each starting from a beginner-first hub.