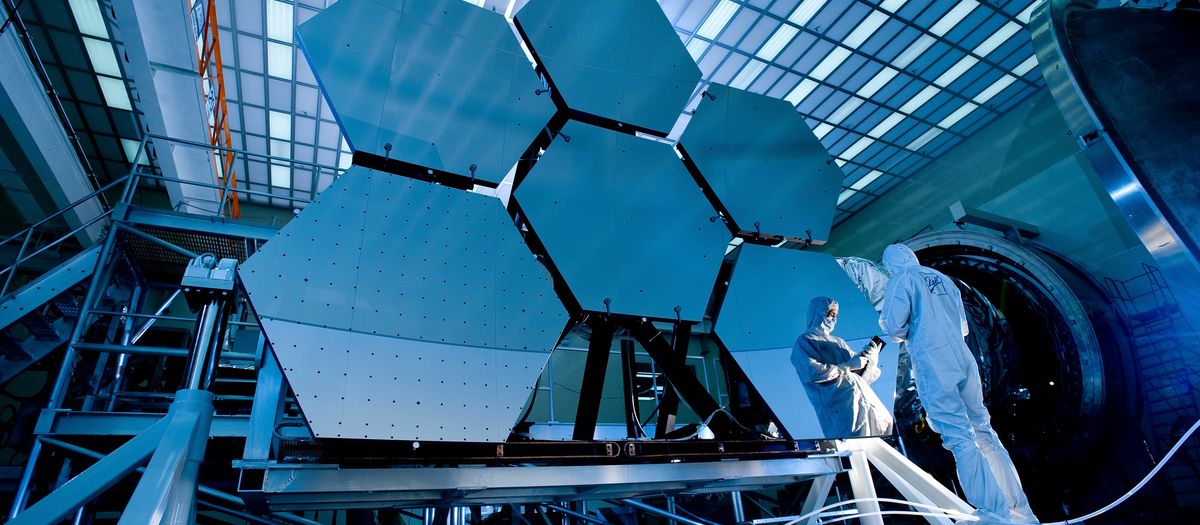
“Collimation” is the word that scares more people off reflector telescopes than anything else. It sounds technical, it sounds like something you could break, and forum posts make it sound like a dark art that takes hours. I want to defuse all of that, because the truth is I collimate my own reflector in about five minutes, by feel, and you’ll be able to as well.
Let me show you what it actually is and the simple routine I use.
What collimation even is
A reflector gathers light with mirrors. Light comes down the open front of the tube, bounces off the big curved primary mirror at the bottom, travels back up to a small flat secondary mirror near the top, and gets kicked out the side into your eyepiece. For the image to be sharp, those two mirrors have to be aimed at each other precisely — their optical centers lined up so the light path is straight and true.
Collimation is just nudging those mirrors back into alignment. That’s the whole thing. Mirrors drift out of alignment a little over time — from being carried around, set down, driven over bumpy roads, or just temperature changes. When they’re out, even a perfect mirror gives you a soft, slightly smeared image, especially at high power on the planets. Collimate, and the sharpness comes right back.
It’s a tune-up, like adjusting a bike’s brakes. You are not taking the optics apart. You are not going to scratch anything if you’re reasonably careful. And on most scopes you’re only turning a few knobs by small amounts.
What you need
You can eyeball collimation with nothing but your eye and the empty eyepiece holder, but I strongly recommend a cheap tool that makes it foolproof: a collimation cap (a simple cap with a tiny center hole — many scopes include one) or, even easier, a laser collimator. A laser turns the whole job into “make the dot land in the right spot,” which is about as beginner-friendly as it gets. Both are inexpensive, and a collimator is one of the accessories I think is genuinely worth owning if you run a reflector — I keep a running list of the telescope eyepieces and accessories I actually reach for, and a collimator’s on it.
The adjustments live in two places: a few screws on the secondary mirror holder near the front of the tube (the “spider”), and three pairs of knobs or screws on the back of the tube behind the primary mirror. You rarely touch the secondary once it’s set. Most quick tune-ups are just the primary.
My five-minute routine
Here’s exactly what I do, in daylight or under a porch light, the evening before or at the start of a session:
1. Look down the empty focuser. Pull out the eyepiece and pop in the collimation cap (or just look down the empty focuser tube with one eye). You’ll see a nest of reflections — the secondary mirror, the primary mirror’s reflection, and the little clips holding the primary. With a cap, you’re looking through that tiny center hole at the stack of circles.
2. Center the secondary first (only if it’s off). The secondary mirror should look centered and round under the focuser. If it’s visibly shoved to one side, adjust the spider screws until it sits centered. Honestly, once this is set right it stays put for ages — I check it maybe twice a year and rarely touch it.
3. Aim the primary — the part you do most. Now the main event. You want the reflection of the primary mirror, and the little dot at its center, lined up concentrically — circles inside circles, all sharing one center. The three pairs of knobs on the back of the tube tilt the primary. Turn them in small amounts and watch the reflections shift. Loosen one of a pair, tighten its partner. Keep nudging until everything is stacked dead center.
With a laser collimator this step is even simpler: drop the laser in the focuser, and you’ll see the beam land somewhere on the primary and bounce back. Adjust the secondary so the beam hits the center spot on the primary, then adjust the primary knobs until the returning beam lands back in the laser’s little target window. When the dot’s home, you’re collimated.
4. Done. Pop your eyepiece back in. That’s it. The first time it might take you fifteen nervous minutes while you figure out which knob does what. By the third or fourth time it’s a relaxed five-minute habit you barely think about.
The mistakes that make it feel hard
A few things that trip beginners up and make collimation seem worse than it is:
- Turning knobs too far. The adjustments are sensitive. Move in small increments and re-check after each one. Cranking a knob a full turn and wondering why everything’s chaos is the classic rookie move.
- Forgetting to loosen before tightening. On the primary, the knobs work in opposing pairs. If everything feels jammed, you’re fighting a locked screw — back one off before snugging another.
- Doing it in the dark, cold and frustrated. Collimate before your session, in comfortable light. Don’t try to learn it for the first time at midnight with numb fingers.
- Chasing perfection. “Good enough” collimation gives you a sharp view. You don’t need lab precision for visual observing. Get the circles roughly concentric and the dot roughly centered and your planets will be crisp.
How often you actually need to do it
Less than the forums suggest. If your scope lives in one place and gets handled gently, it might hold collimation for weeks. If you drive it to dark sites over washboard roads, check it each session — a thirty-second look down the focuser tells you whether it needs a tweak. A refractor never needs this at all, which is one of the few genuine points in a refractor’s favor.
So here’s my whole message: don’t let one scary-sounding word steer you away from a reflector, which is the design that gives beginners the most aperture for the money. Collimation is a five-minute tune-up, the tools are cheap, and the worst that happens on your first attempt is you spend a quiet quarter-hour learning which knob does what. The reward is a mirror that shows you everything it’s capable of — and that’s the whole point of buying the aperture in the first place.